Online Venues
Events Manager Online Venues is a paid add-on that lets you hold events on Microsoft Teams, Google Meet, YouTube Live and Facebook Live. You choose the platform as the event's location, and the add-on creates the meeting or broadcast for you, updates it when you change the event, and removes it when you delete the event.
Attendees reach the meeting through a link on your own site, which only lets them in while their booking is confirmed.
Online Venues requires Events Manager 7.5 or later. Events Manager Pro is optional. It's included with every Pro Plus license and can also be bought on its own.
Step 1: Install the add-on
Download Events Manager Online Venues from the downloads page of your eventsmanagerpro.com account, then upload and activate it under Plugins > Add New > Upload Plugin.
Pro Plus customers generate an Online Venues license key from their account, the same way as for other add-ons. Enter it under Events > Settings in the Events Manager Online Venues License section to receive updates. The platforms appear once the license is active.
Step 2: Switch on the platforms
Go to Events > Settings > General (tab) > General Options and find Location Types. Tick Virtual Locations, then tick each platform you want to offer.
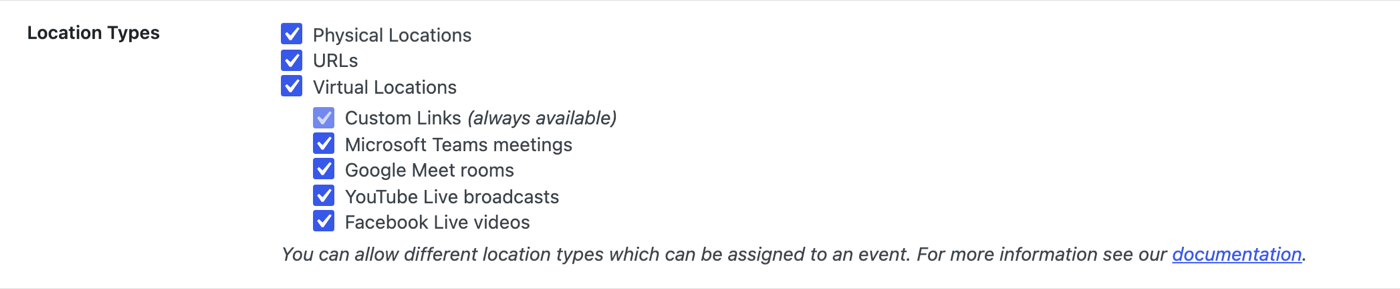
Custom Links is always available once Virtual Locations is ticked, for events held on a platform the add-on doesn't cover.
Step 3: Connect your accounts
Each platform needs an app that you create in your own Microsoft, Google or Meta account. Meetings and broadcasts are created in your accounts, and nothing passes through our servers.
On the same settings tab, open the Online Venues section. Each platform shows the redirect URI to copy into its app, and fields for the app's credentials. Fill them in, save your settings, then click Connect and sign in to the account that should host your events.
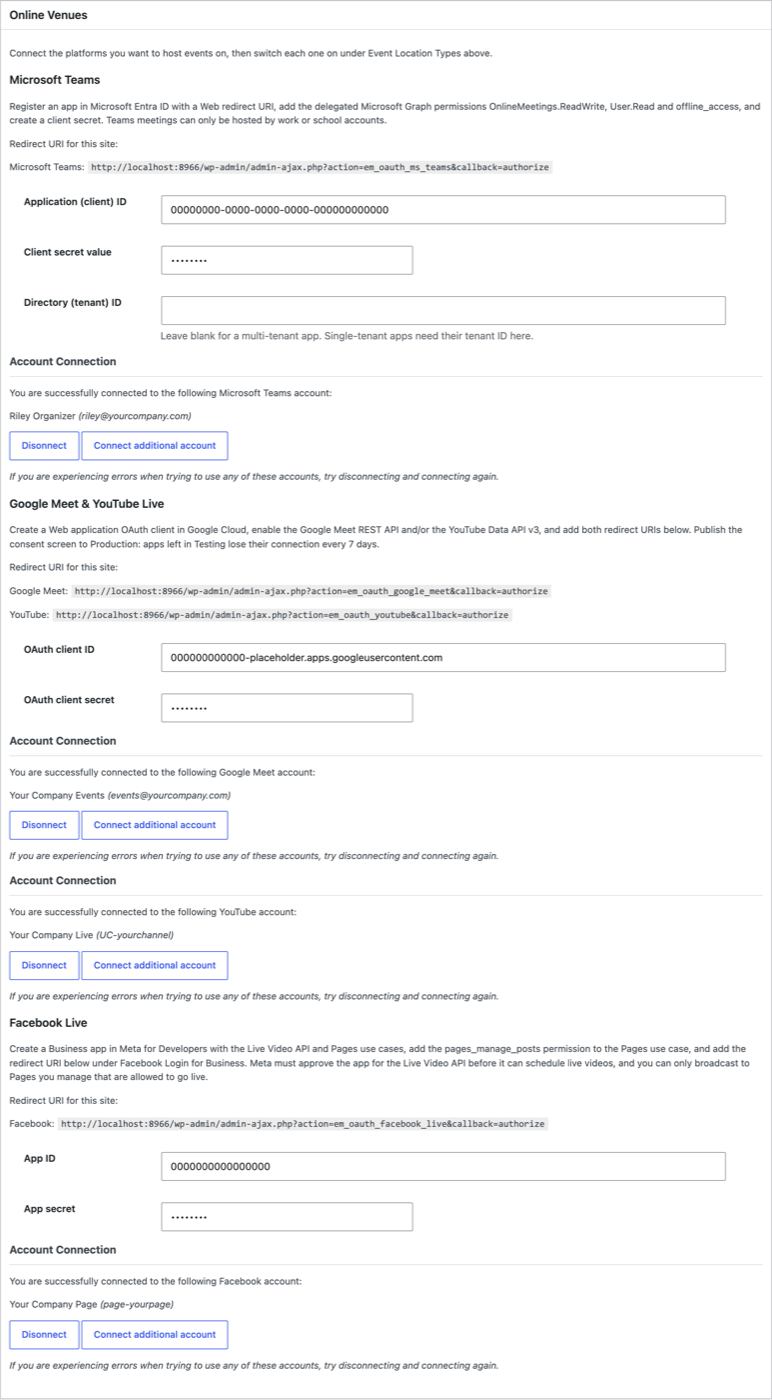
You can connect more than one account for a platform, for example two Microsoft users or several Facebook Pages, using Connect additional account. Each event then chooses which one hosts it.
Each platform's guide covers creating its app:
- Microsoft Teams: an app registration in Microsoft Entra ID.
- Google Meet and YouTube Live: one OAuth client in Google Cloud covers both.
- Facebook Live: a Business app in Meta for Developers.
Step 4: Choose the platform for an event
When you add or edit an event, open the Where box, set Location Type to Virtual Venue, and choose the platform under Virtual Platform. Its settings appear below. Save the event, and the meeting or broadcast is created a few moments later.
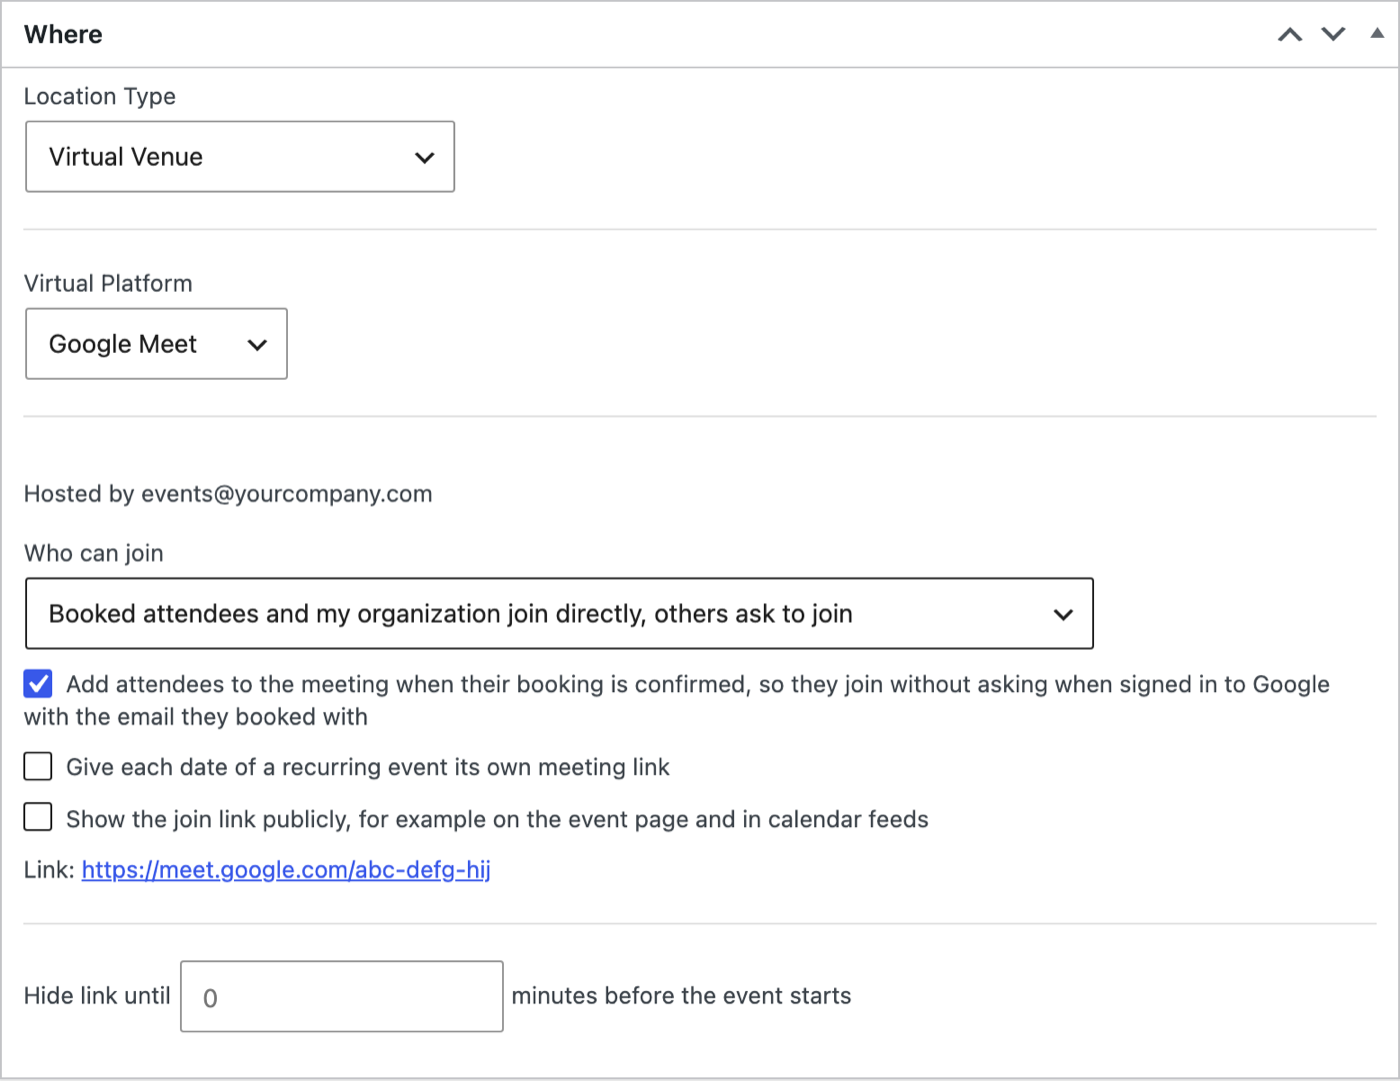
Once it exists, the box shows the link. If something goes wrong, for example a connection that has expired, the box shows the platform's reason and the add-on keeps retrying in the background.
Recurring events
Teams meetings and Google Meet rooms are shared by every date of a recurring event by default, which suits a weekly class with the same link each time. Tick Give each date of a recurring event its own meeting link if you'd rather each date had its own. YouTube and Facebook broadcasts always get one per date.
How attendees join
Turn on bookings for the event. Each attendee gets a join link that opens a page on your own site. That page checks the booking is still confirmed, then sends them on to the meeting or broadcast.
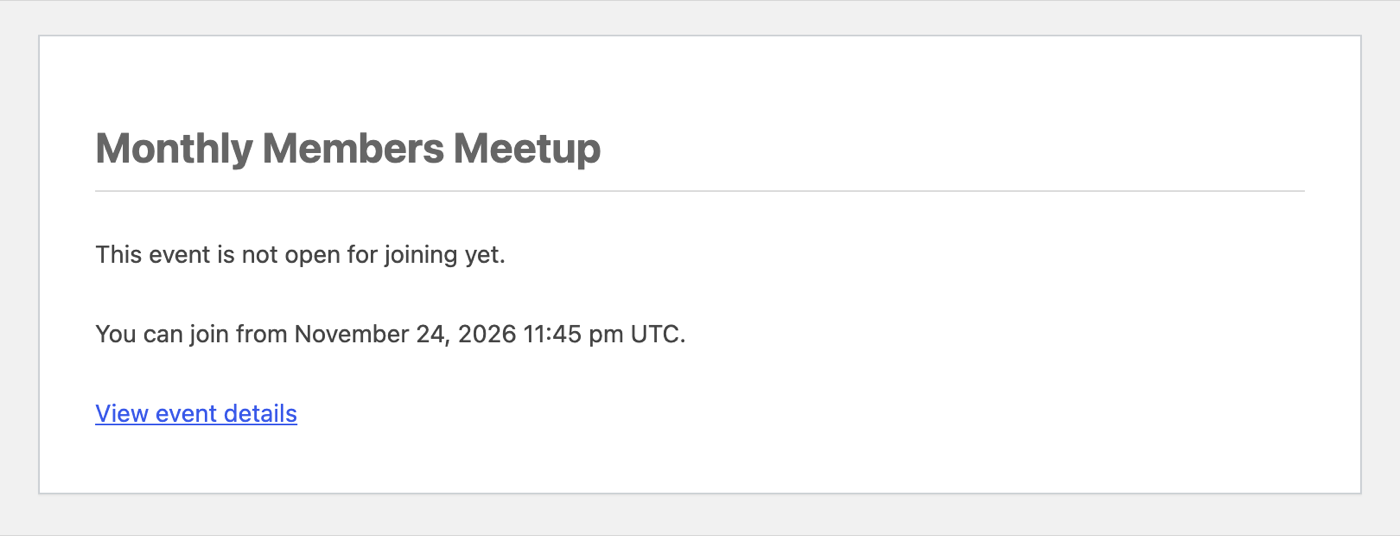
The link starts working 15 minutes before the event starts and stops two hours after it ends. Before then, it shows when they can join:
Adding the link to your emails
Use these placeholders in your booking emails:
#_BOOKINGLOCATIONprints the event's location, which for an online event is a Join online link.#_BOOKINGJOINLINKprints a Join online link, and#_BOOKINGJOINLINK{Join the meetup}uses your own text.#_BOOKINGJOINURLprints the address on its own.
Sites installed with Events Manager 7.5 or later use #_BOOKINGLOCATION in the default booking emails. If your site is older, edit your booking confirmation emails under Events > Settings > Emails and replace #_LOCATIONNAME - #_LOCATIONFULLLINE with #_BOOKINGLOCATION, or add #_BOOKINGJOINLINK where you want the link.
Showing the link publicly
The meeting link stays private to people who booked unless you tick Show the join link publicly, for example on the event page and in calendar feeds, or the event doesn't take bookings. Facebook Live videos are always public, since they're posted on your Page.
To keep the link back until shortly before the event, use Hide link until … minutes before the event starts. The defaults for this are under Virtual and Hybrid Events in your settings.
Using it alongside Zoom
Zoom Pro and the free Events Manager Zoom plugin are separate. They can be active at the same time as Online Venues, and each event uses whichever location you choose for it.