Introduction to Events Manager Settings
Setting Up Events Manager
Now you know your way around, let's take a look at some of the main settings that you may want to adjust before creating your event. To adjust the settings navigate to Events > Settings.
General Settings
The General Settings tab has options for enabling different functionality in the Events Manager plugin. For example, you can enable categories and tags, event attributes and custom fields. Edit these to suit your needs. They can be adjusted at any time.

You may wish to set the default country for when you create your locations. You'll find this underneath General Options.

Pages
The Pages tab gives you greater control over your event content. Some of the things you may wish to adjust in this section:
- Your events and locations can either display as a Post or a Page. Displaying as a Post will have data such as post date and post author displayed with it. If you don't wish to display this information select to display as a Page.
- Change your archive pages. These are the default pages that are created when you activate Events Manager.
- Enable/disable event search.
Formats/Layouts
You can adjust the layouts and formats of your different pages. This lets you decide how your event pages are displayed. You will need basic HTML knowledge to edit the display.
Booking Options
The booking options control how people register for your event. You can enable cancellations, allow guest bookings or require pre-approval.
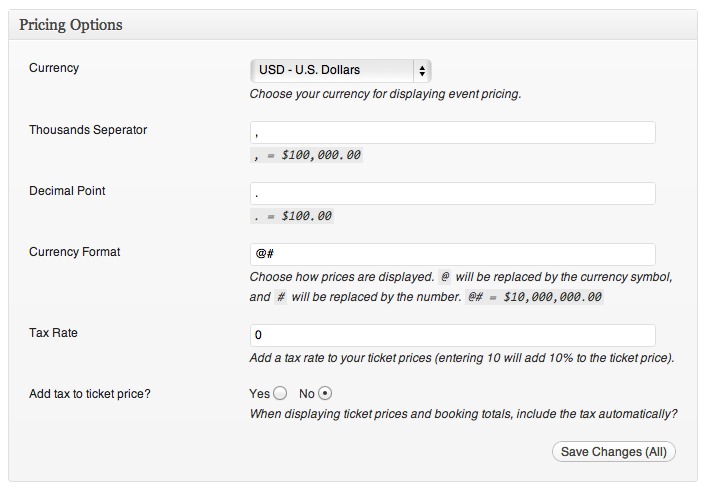
You can also set the pricing options here. You should ensure that your currency and your currency formatting are set correctly. You can also add a tax rate to your tickets.

Email
Adjust your email settings and the automated emails that are sent when someone registers for your event.