Setting Up Gateways
Gateways connect Events Manager to payment processors.
All your gateway settings can be accessed from Events > Payment Gateways in your admin dashboard.
When you first visit this page, you will see that all your gateways are inactive by default. Before activating them, you must set them up first, so click on the name of the gateway, or the Settings link below it.
Payment Methods When Booking
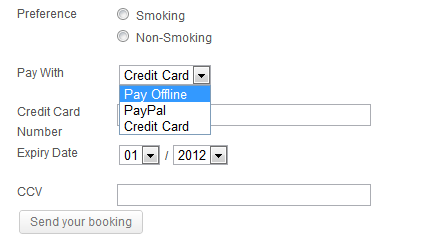
Once you’ve activated your gateways, they will be made available as payment options on your booking form for any event with chargeable tickets (i.e. non-free events).

The default is that you see a dropdown menu providing the different active payment methods. You can change the default “Pay With” text by visiting Events > Settings > Booking Options > Payment Gateway Options in your admin dashboard.

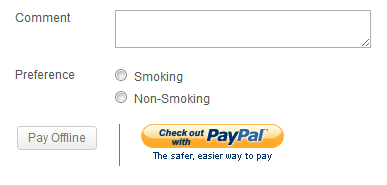
Alternatively, if you would like to show a list of buttons, this is possible for certain gateways including offline and PayPal Standard payments. You can enable quick pay buttons by visiting Events > Settings > Booking Options > Payment Gateway Options in your admin dashboard.
Transaction History
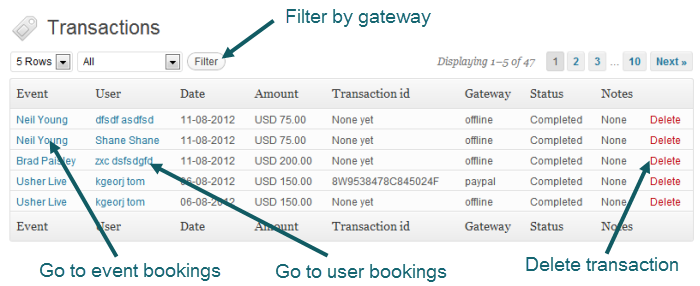
Whenever a payment is made to/from your gateway, it will be recorded in our transactions table. You can view transactions for a specific gateway by clicking on the ‘view transactions’ link next to each gateway or alternatively visit the Bookings admin page and you’ll find the same table at the bottom.
This transactions table looks and works the same wherever you go, the only difference is the scope of what transactions are shown, and this mainly depends on what page you’re on. Some examples:
- Bookings page – shows all transactions
- User bookings – shows all transactions for that user
- Event bookings – shows all transactions for that event
- Single booking – shows all transactions for that booking
Adding More Gateways
One of the more common questions we receive is “I would like to use gateway X, how?”.
We will certainly be adding new gateways as time permits, however it won’t be possible for us to add every gateway and often a specific merchant account is needed to accept payments, especially in some Countries with less options. Fortunately for developers, Events Manager Pro is designed like Events Manager, with flexibility and extend-ability in mind.
Events Manager Pro has a base gateway class which every gateway extends, meaning minimal amounts of code is needed to link gateways to Events Manager. Even more importantly, this allows for developers to create their own plugin which adds a new gateway to Events Manager in an upgrade-safe manner.
For more information on developing your own gateway, please refer to our PayPal and Authorize.net implementations, we are currently working on some instructions and skeleton gateway examples for developers.

