Getting Started Guide
Congratulations! You've just installed the WordPress Events Manager Plugin. The next step is to start managing events through your WordPress website. This getting started guide will walk you through that process in three phases:
- A Quick Tour of Events Manager - learn about the content that Events Manager adds to your WordPress installation.
- Setting Up Event Manager - this section will walk you through the settings you need to adjust to start managing events.
- Creating Your First Event - use this section to learn how to create your events.
There is plenty more to explore in the Events Manager plugin than is listed here, but this guide has everything you need to get up and running with your first event.
A Quick Tour of Events Manager
Events Manager creates new content and functionality, which you'll find in two main places:
- The Pages Admin Screen
- The WordPress Navigation Menu
Let's take a look at both of these:
The Pages Admin Screen
Events Manager creates four new pages. These are:
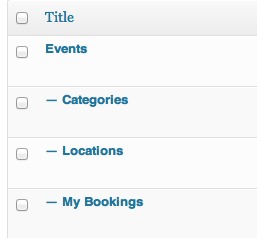
- Events - contains the list of upcoming events along with a search form.
- Categories - displays a list of event categories.
- Locations - displays a list of locations.
- My Bookings - displays a user's booking history and their cancellation options.
You can reassign these pages or disable them by navigation to Events > Settings and visiting the Pages tab.
The next section you will notice is the Events item added to your WordPress navigation. This is where you will create and manage your events, adjust your settings, and, if you're a Pro user, add payment gateways and manage coupons.
Let's take a brief look at the menu items:
- Events - the admin screen for your events.
- Add Event - use to add a new event.
- Event Tag - manage your event tags. Use tags to organise your events.
- Event Categories - manage your event categories. Use categories to organise and categorise your events.
- Locations - add locations and maps which can be attached to your events.
- Recurring Events - use for creating repeating events.
- Bookings - manage your bookings. If you're a Pro user you'll also be able to manage your transactions.
- Settings - all the settings you need to manage the Events Manager plugin.
- Help - find links to help and a list of event-related placeholders which can be used for customizing events.
- Forms Editor (Pro Only) - create custom booking forms for your events..
- Payment Gateways(Pro Only) - configure payment gateways. In addition to offline payments, Events Manager currently supports PayPal and Authorize.net.
- Coupons Manager(Pro Only) - create coupons to offer discounts and reductions on events.
Creating Your First Event
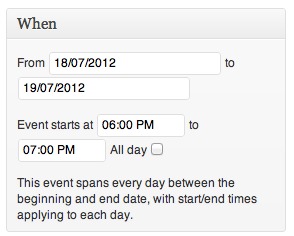
Now that you know your way around the plugin, let's create your first event.. Navigate to Events > Add Event.
Give your event a name.
Input the date and time of the event.
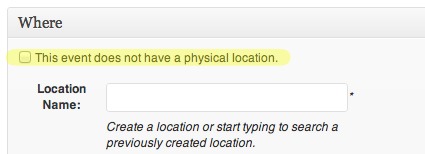
Add a location for your event. If your event is online, or doesn't have a location, select the "The event does not have a physical location" box.
If you do have a physical location input the address. When you add your information a Google Map will automatically appear displaying the information.
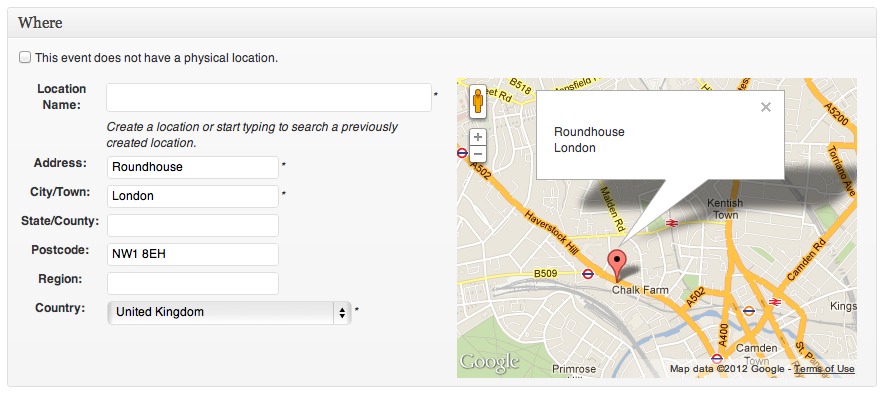
[box type="info"]Once you have used a location you can quickly add it by typing its name into the "Location name" field. You can adjust this behaviour at Settings > General Settings.[/box]
Decide whether you want to enable ticketing. If you do, select "enable registration for this event.
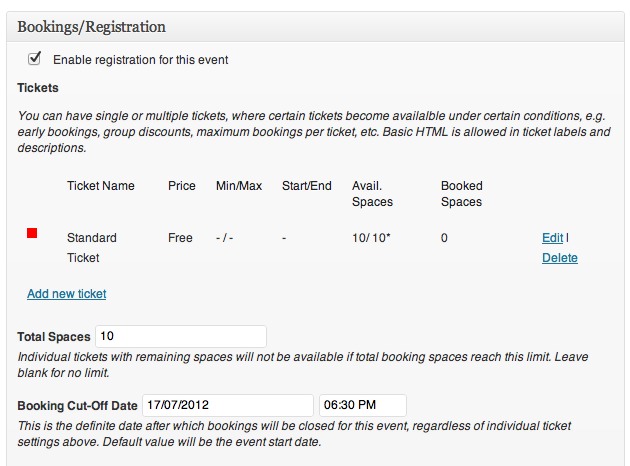
Click Publish.
Your event is ready to go!
Further Steps
That's just the very basics of Events Manager. You can do much more, including:
- Customize how your events appear
- Create recurring events
- Process payments through your website
- Create coupons
Check our documentation page for more information.