With Events Manager you can let users submit events themselves. Although you can allow user submitted events to be published immediately, it’s more likely you’ll want events to be saved as Pending so that you can moderate them before publishing.
Events Manager uses user capabilities to control publishing privileges, which you can also fine-tune to suit your own needs.
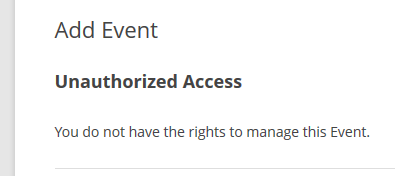
Capabilities are already assigned to the default WP roles when you first install Events Manager. By default, users at the subscriber level are only able to add, edit and delete their own events, recurring events and bookings. They’re not able to publish events without prior approval from admins or to access other features of Events Manager.
Note: When a user edits / resubmits an event, the status is changed to Pending meaning it will no longer be visible on the site until it’s re-approved.
To extend or reduce the capabilities of users, go to Events > Settings > User Capabilities.
For example, it you wanted to let users publish any kind of events instantly – without their events being put into Pending status – you’d make sure publish_events, publish_recurring_events and publish_locations were all checked.

See more detailed information about User Capabilities and approving submitted events and locations.
Interface options
There are two choices of interfaces available when enabling user submissions.
The first option is for submitters to use WordPress Admin, the second is to let them use pages on the front-end of your site.
Although the interfaces are different, the feature set is exactly the same.
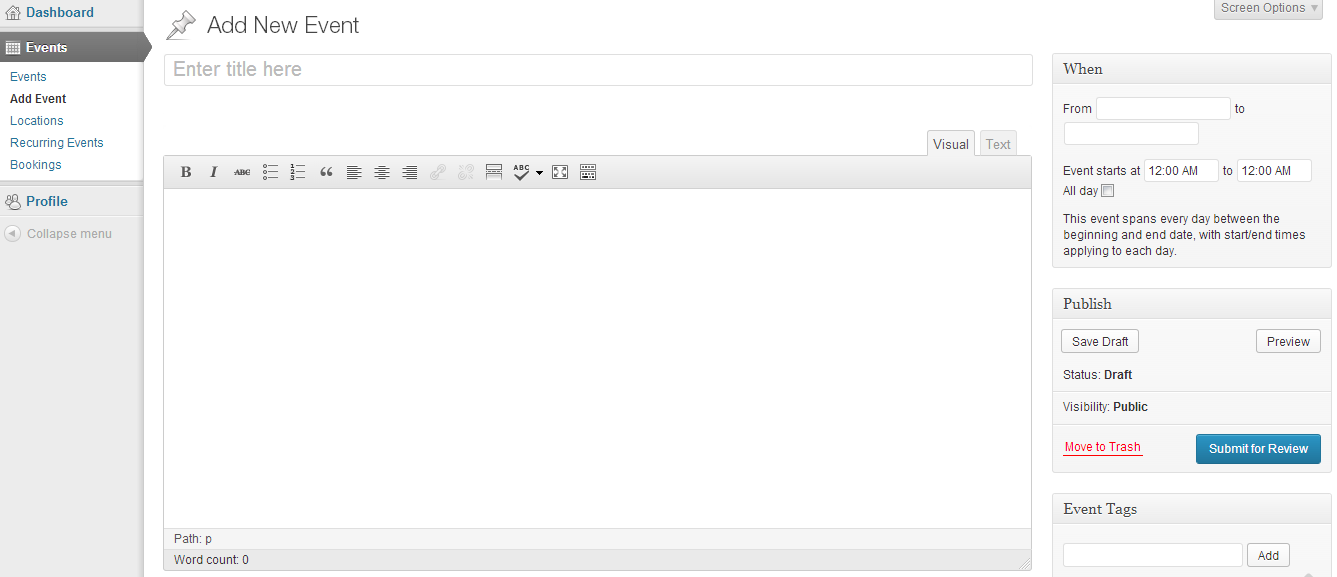
Option 1 – WordPress Admin
With this option, users edit events using the standard WordPress Admin Dashboard – minus access to those areas that are not enabled for their user level. You can see from the screenshot below that this version of the Add New Event form is the same as that used by admin users.
This option is always activated by default, though you may want to also enable the front-end forms option.
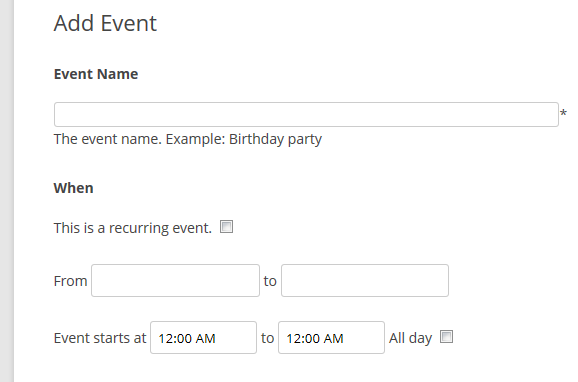
Option 2 – Front-end Forms
With Events Manager you can also let users add events through the front-end your site. This is a good option if you want visitors to have a consistent user experience because they can add, edit and manage bookings on pages that have the same design as the rest of your site.
To use this option, you first need to choose which pages will be displayed for the edit events page, edit locations page and the manage bookings page.
Before you can assign pages, you need to create them with the usual WordPress Pages > Add New option. Because these are placeholder pages for dynamic content created by Events Manager, there’s no need to add any content to these pages. Just publish an empty page with the page title you want to use and Events Manager will add the necessary content.
Once you’ve created the pages, go to Events > Settings > Pages > Other Pages. In the lower half of the panel you’ll see a heading called Front-end management pages.

Under that heading there are three drop-downs for you to select which page is used to display each form. Select the three pages you just created and click Save Changes.
You can also include the event submission form on other pages of your site by using the [event_form] shortcode within posts and pages or the em_event_form() PHP tag within your theme templates.
What users see on those pages depends on whether or not they are logged in. For example, logged in users going to the submit your event page will see this:
This page lists all previous events the user has submitted. In fact, from this one page they can easily add, edit or delete any of their events.
Unless you’ve enabled anonymous submissions (see the next section to learn how), users who aren’t logged in will be prompted to login to see the event submission form:
Anonymous Event Submissions
This feature allows you to accept event submissions from users without them needing to create an account beforehand. Bear in mind that users submitting events in this way won’t be able to view or edit their submissions afterwards.
It’s also important to remember there needs to be an internal user account associated with anonymous submissions, even though the user will be unaware of it. We recommend creating a separate dummy user account just for these types of submissions. Make the user level “subscriber” and choose a safe, non-dictionary password.
You can enable anonymous submissions by going to Events > Settings > General and clicking open the Events Submission Forms panel. Scroll down to the Allow anonymous event submissions? option and set it to Yes.
From the Guest Default User dropdown select the dummy account you created.
You can also customize the Success Message which users see after submitting an event. if you want, you can use Event Related and Location Related placeholders within the message.
The event submission page will look something like this:

Notice how this version of the form includes Name and Email fields at the top. These allow you to send an email to the user when their event is approved.
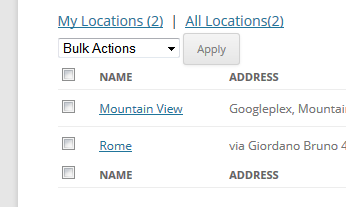
Edit Locations page
Logged in users see the locations page, allowing them to add, edit and delete locations.
Bear in mind that users can also add new locations when submitting a new event too, unless you force them to choose a currently submitted location via your settings page under the General (tab) > General Options > Use dropdown for locations?
Users who aren’t logged in will be prompted to login.

User managed bookings
If the user selected Enable registration for this event under the Bookings/Registration section of their submitted event, they can view and edit all their bookings via the Manage Bookings page.
Fine-tuning the Events Submission form
Head over to Events > Settings > General > Event Submission Forms. Here you’ll find options to activate the visual editor (making it easy for users to add formatting like bold and italics to their submission) and allow anonymous submissions.
You can also customize the messages users see when they submit an event and when an event is updated.
Email Notifications
As an Administrator, you can choose to receive an email when users submit an event. To activate the feature, go to Events > Settings > Emails > Event Submission Templates. Add the email address you want to send notifications to in the Administrator Email field. You can add more than one address by separating them with a comma. If don’t want to receive notifications, leave the box empty.
Under the Administrator Email field, there are templates that control which information is included in emails sent to administrators. Whenever an event is submitted by a non-admin users, Events Manager will send out the appropriate emails.
Below the Admin email templates, you’ll see more email templates under the heading Event Submitter Emails. These govern the format for emails sent to the user who submitted the event.
Both sets of email templates can use the standard Events Manager placeholders.